How to Bypass CGNAT and Expose Your Home Network (Securely and Free)

an introduction to Cloudflare Tunnel, part of Cloudflare's Zero Trust Access tool
If you have Internet at your house, chances are you are behind a CGNAT (carrier grade NAT).
There are not enough IPv4 addresses around the world, we all know that. However, I had not discovered CGNAT until I decided to publicly expose my server to the Internet.
Wait? The IP my firewall/router gets from the ISP is different than my public IP. How am I supposed to use DDNS now? Turns out, I am sharing my public IP with other subscribers from the same ISP.
What now? You might ask. Of course, you can pay an extra fee every month to receive a static IP address. But you know we are not all about that here at ZengroTrust.
This is where Cloudflare Tunnel comes in. With this tunnel we can expose anything on your home network to the internet, securely. You can configure the tunnel to route any subdomain of your infrastructure, it even comes with SSL certs! Best of all? It is super simple and intuitive to implement.
What Do You Need
Domain
First you will need a domain name. You can get a free one that looks sketchy or pay around $12/year to get a top-level domain of your choice.
Computing Device
This can be a server, a virtual machine, or a computer that runs on either Windows, MacOS, Linux, or Docker.

Cloudflare Account
Create a free account on cloudflare.com. It might ask you for a payment method on file. Don't worry, you will not be charged.
What You Need to Do
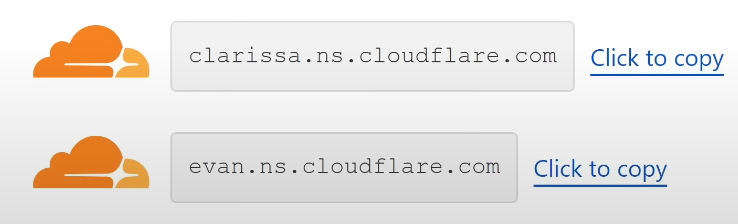
1. Set up Custom Nameservers
After you obtain your domain name and Cloudflare account, we need to let Cloudflare to manage the DNS. You can accomplish this by updating the nameserver setting from your domain registrar. Google:
change nameservers "Your Domain Registrar's Name"
if you need further instructions. This roughly takes 5min - 24 hours. (It shouldn't be that long, but we never know...)
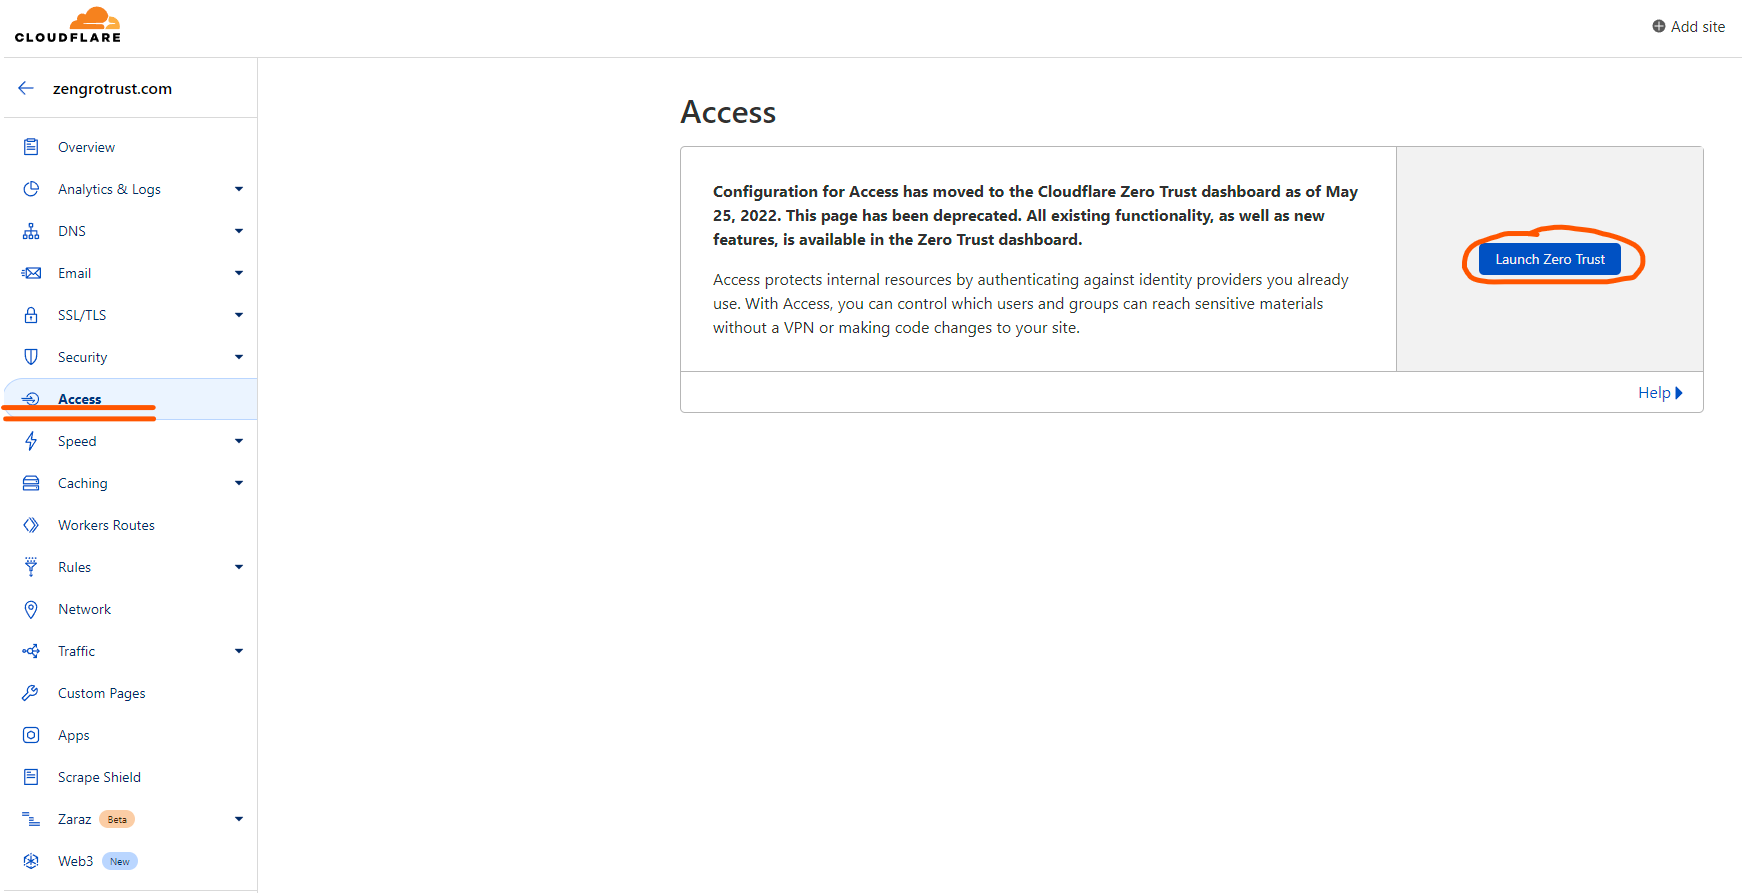
2. Launch Zero Trust
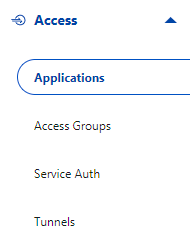
Launch the Zero Trust panel by navigating to Access.
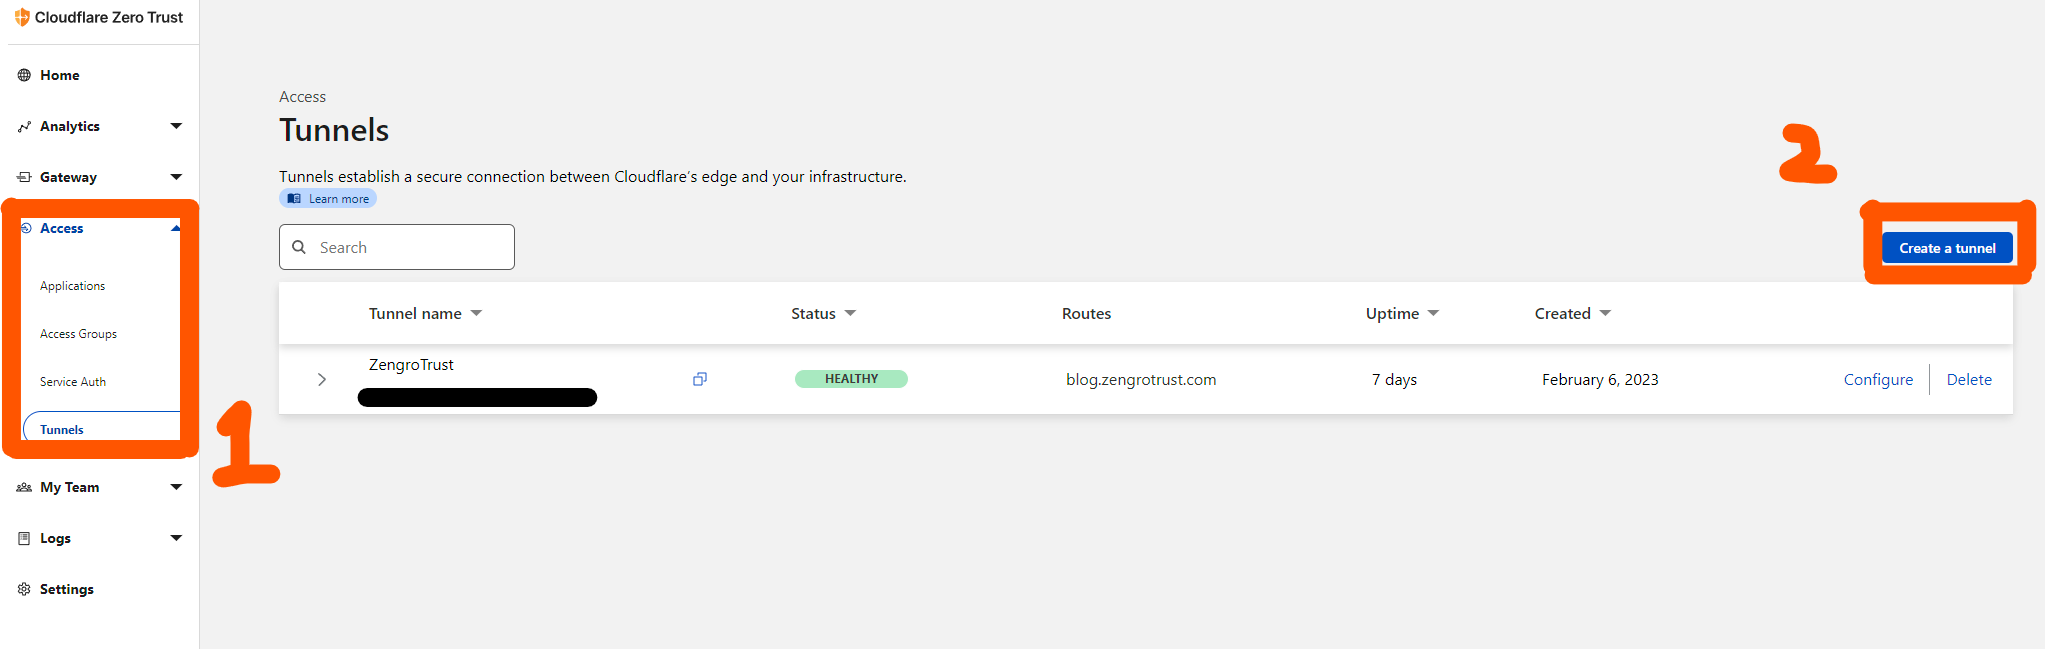
3. Create Tunnels
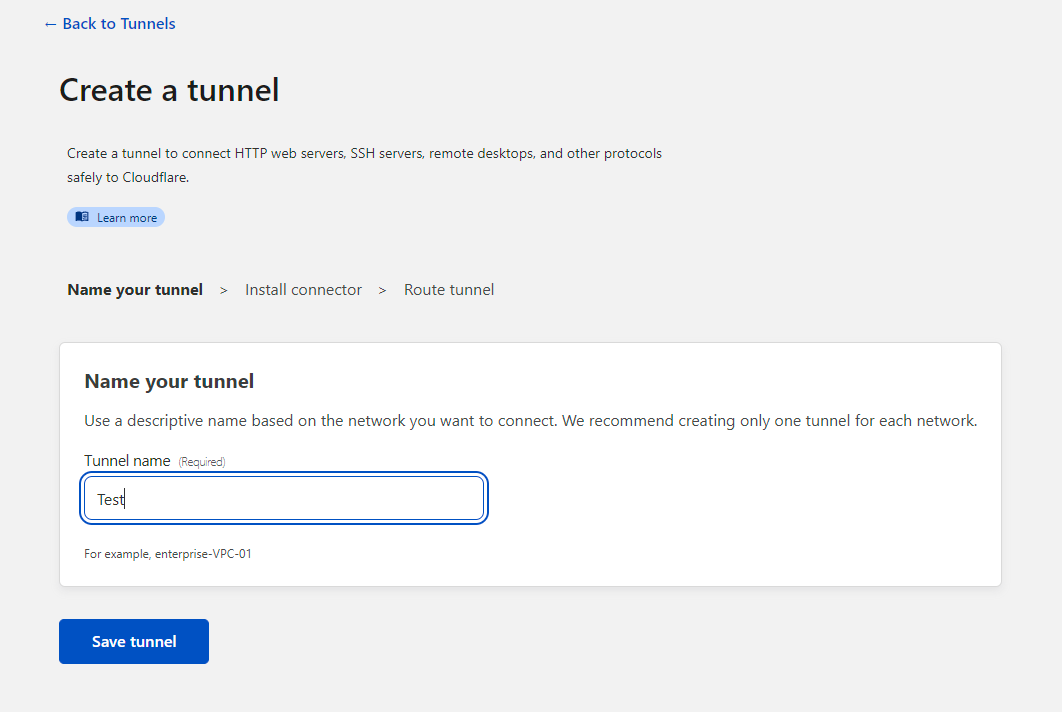
Once you are in, we can create a new tunnel.
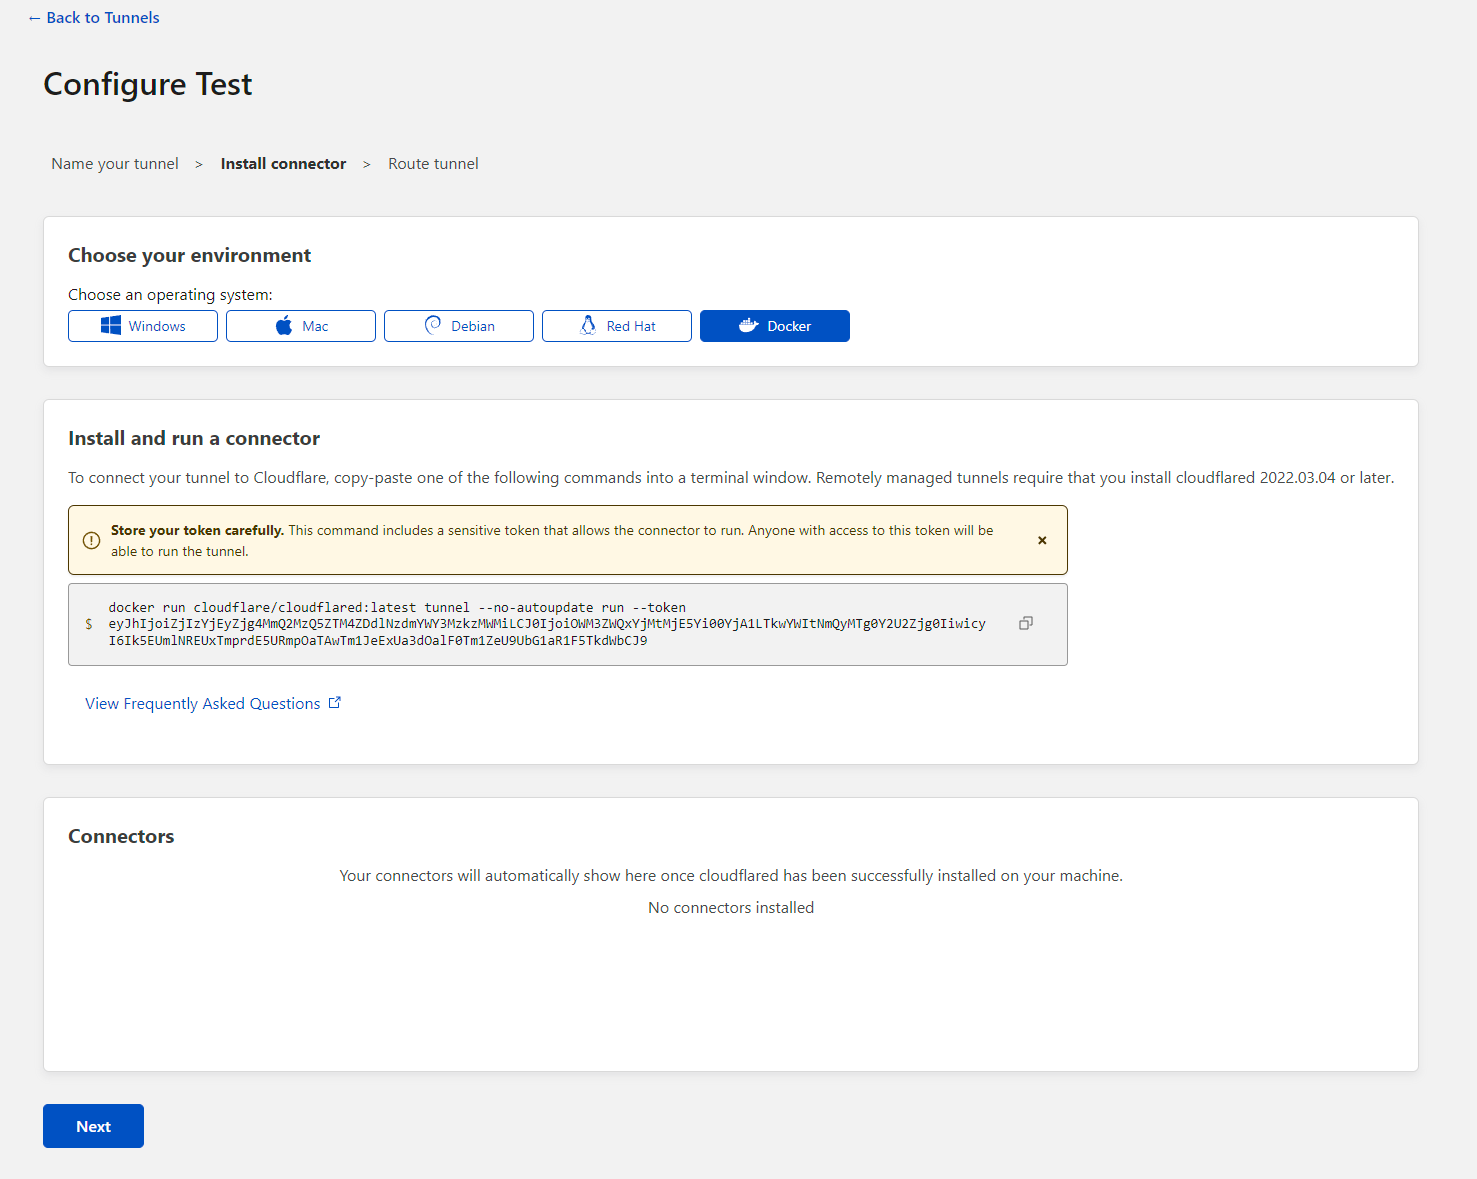
After the installation, your connectors should show up pretty quickly.
Now you want to configure the public hostname. Using my domain name, some examples are:
zengrotrust.com
blog.zengrotrust.com
zengrotrust.com/blog
For service, you want to mirror what exactly your service is using locally. For example, if my Ghost container is running with HTTP on 10.1.1.1 port 2368
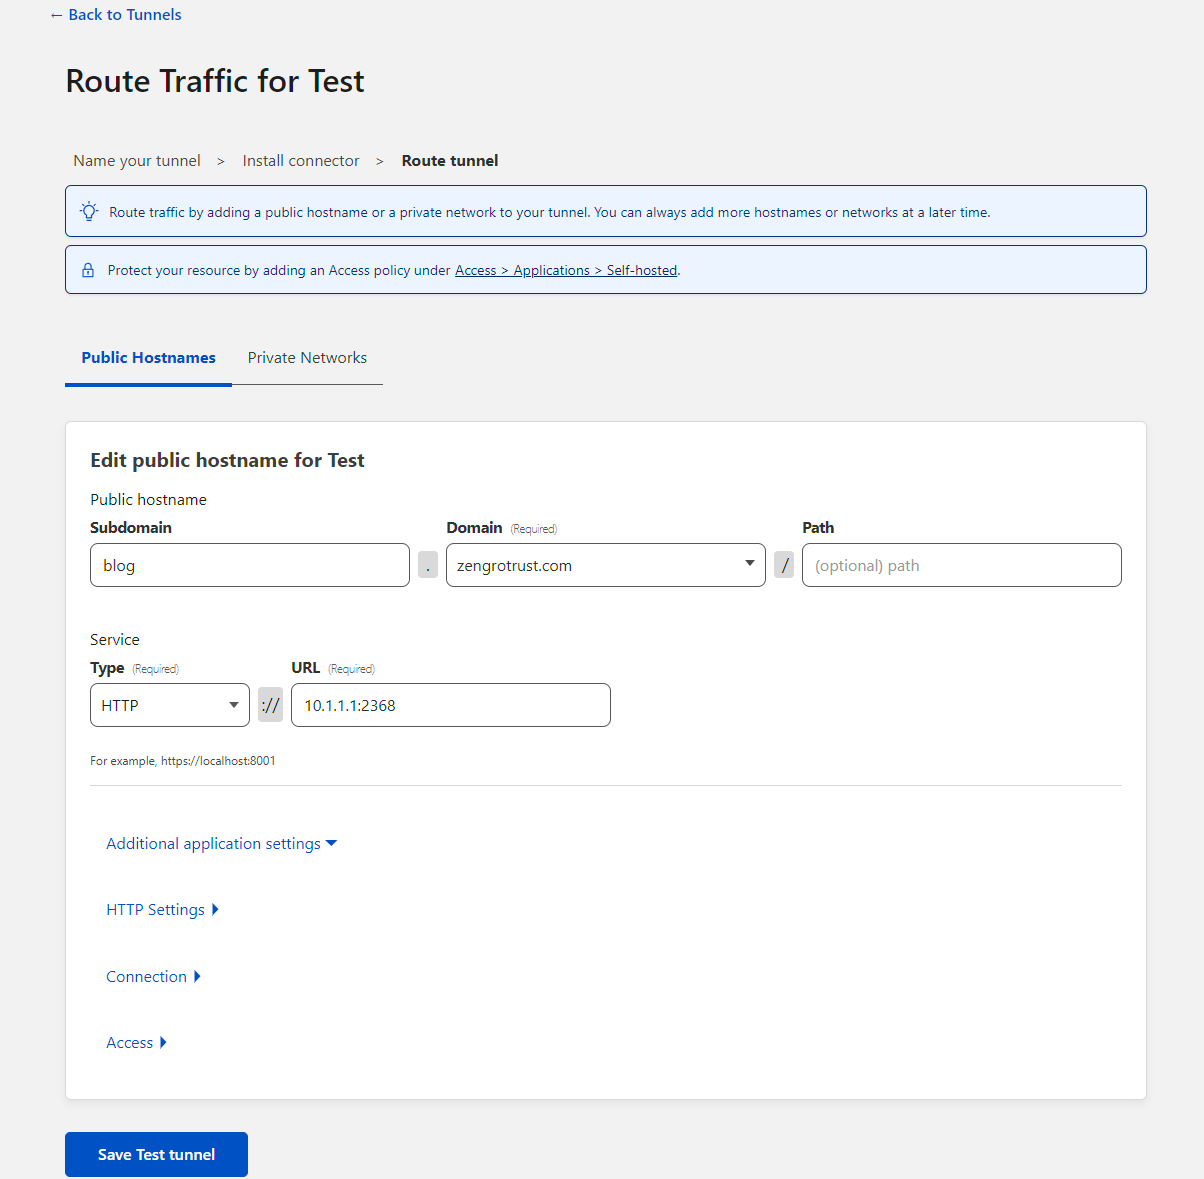
Congratulations, now you have established a secure connection between Cloudflare’s edge and your infrastructure.
Bonus
Being part of the Cloudflare Zero Trust, you also get to protect your Self-Hosted, SaaS and Private applications with Zero Trust policies. Only users who match your policies will have access to your configured applications.
Simply navigate to "Application" above the "Tunnels" and add an application.
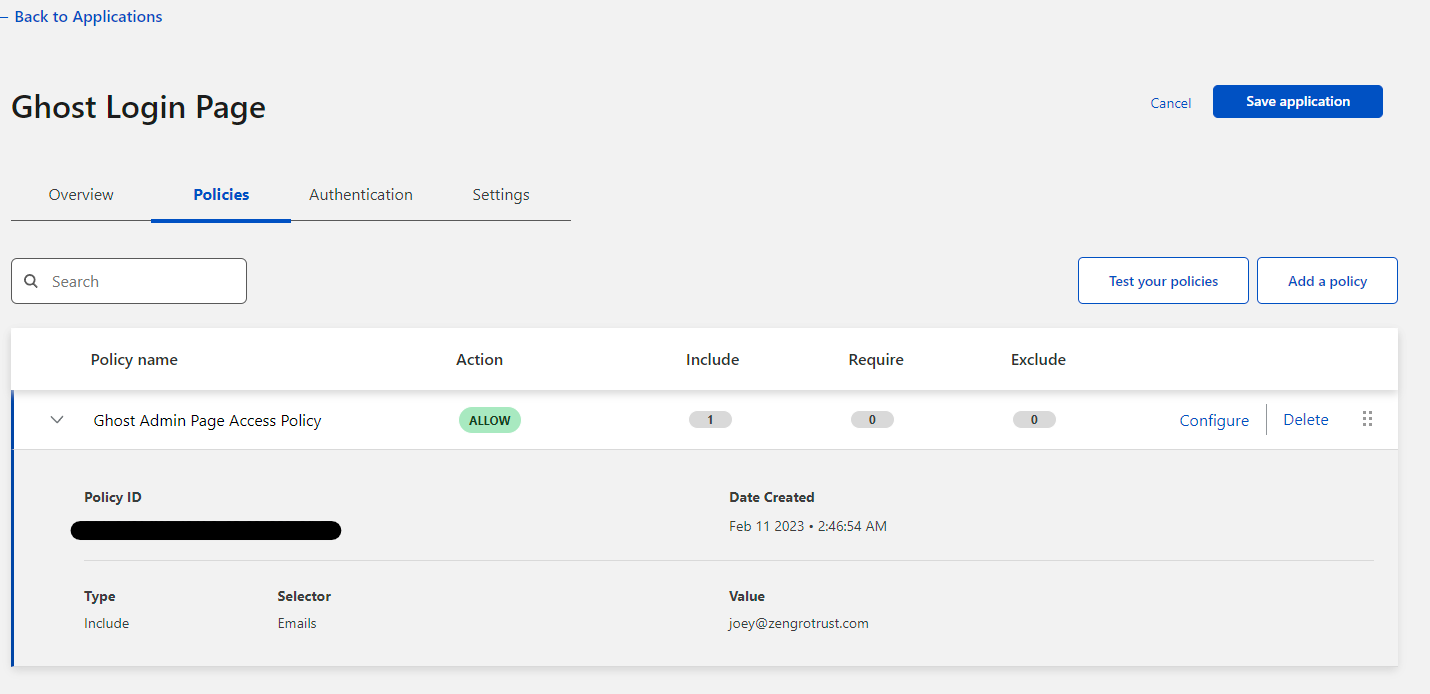
In this instance, I am protecting the blog admin page with MFA. The authentication code will only send to my email, adding another layer of security to sensitive data.
Additionally, a user can also choose to integrate organization's identity providers (IdPs) for Single Sign-on (SSO).